I want to talk a little about CS distance-teaching, and I realize that this is kind of a niche topic given that teaching CS at all is a niche endeavor. I teach other classes–I’ve been a high school science teacher for much of my career–but teaching CS is what makes up most of my day now, so I suppose this is a good place to start.
I’ll talk about teaching Physics classes online in another post soon.
Conflated with the question of “what are some great ways of distance-teaching computer science?” is the deeper, darker question that haunts each of us: “Can you just help me identify some great ways of teaching CS under any circumstances, even those not involving a pandemic?” Because I don’t think we’ve really got that figured out yet, either.
There is some great research being done out there, and a lot of it gets presented at the annual SIGCSE convention each year. You need to go. There are other conventions as well, but SIGCSE is arguably the best, and you’ll get some great ideas, meet some great people, and have the chance to reflect more deeply on what we do–teaching CS–and how we might go about doing it better.
For today, I’ll just tell you what I’ve been doing for the past few years in teaching my own CS classes, and after that, we can talk about what changed when I had to start distance-teaching.
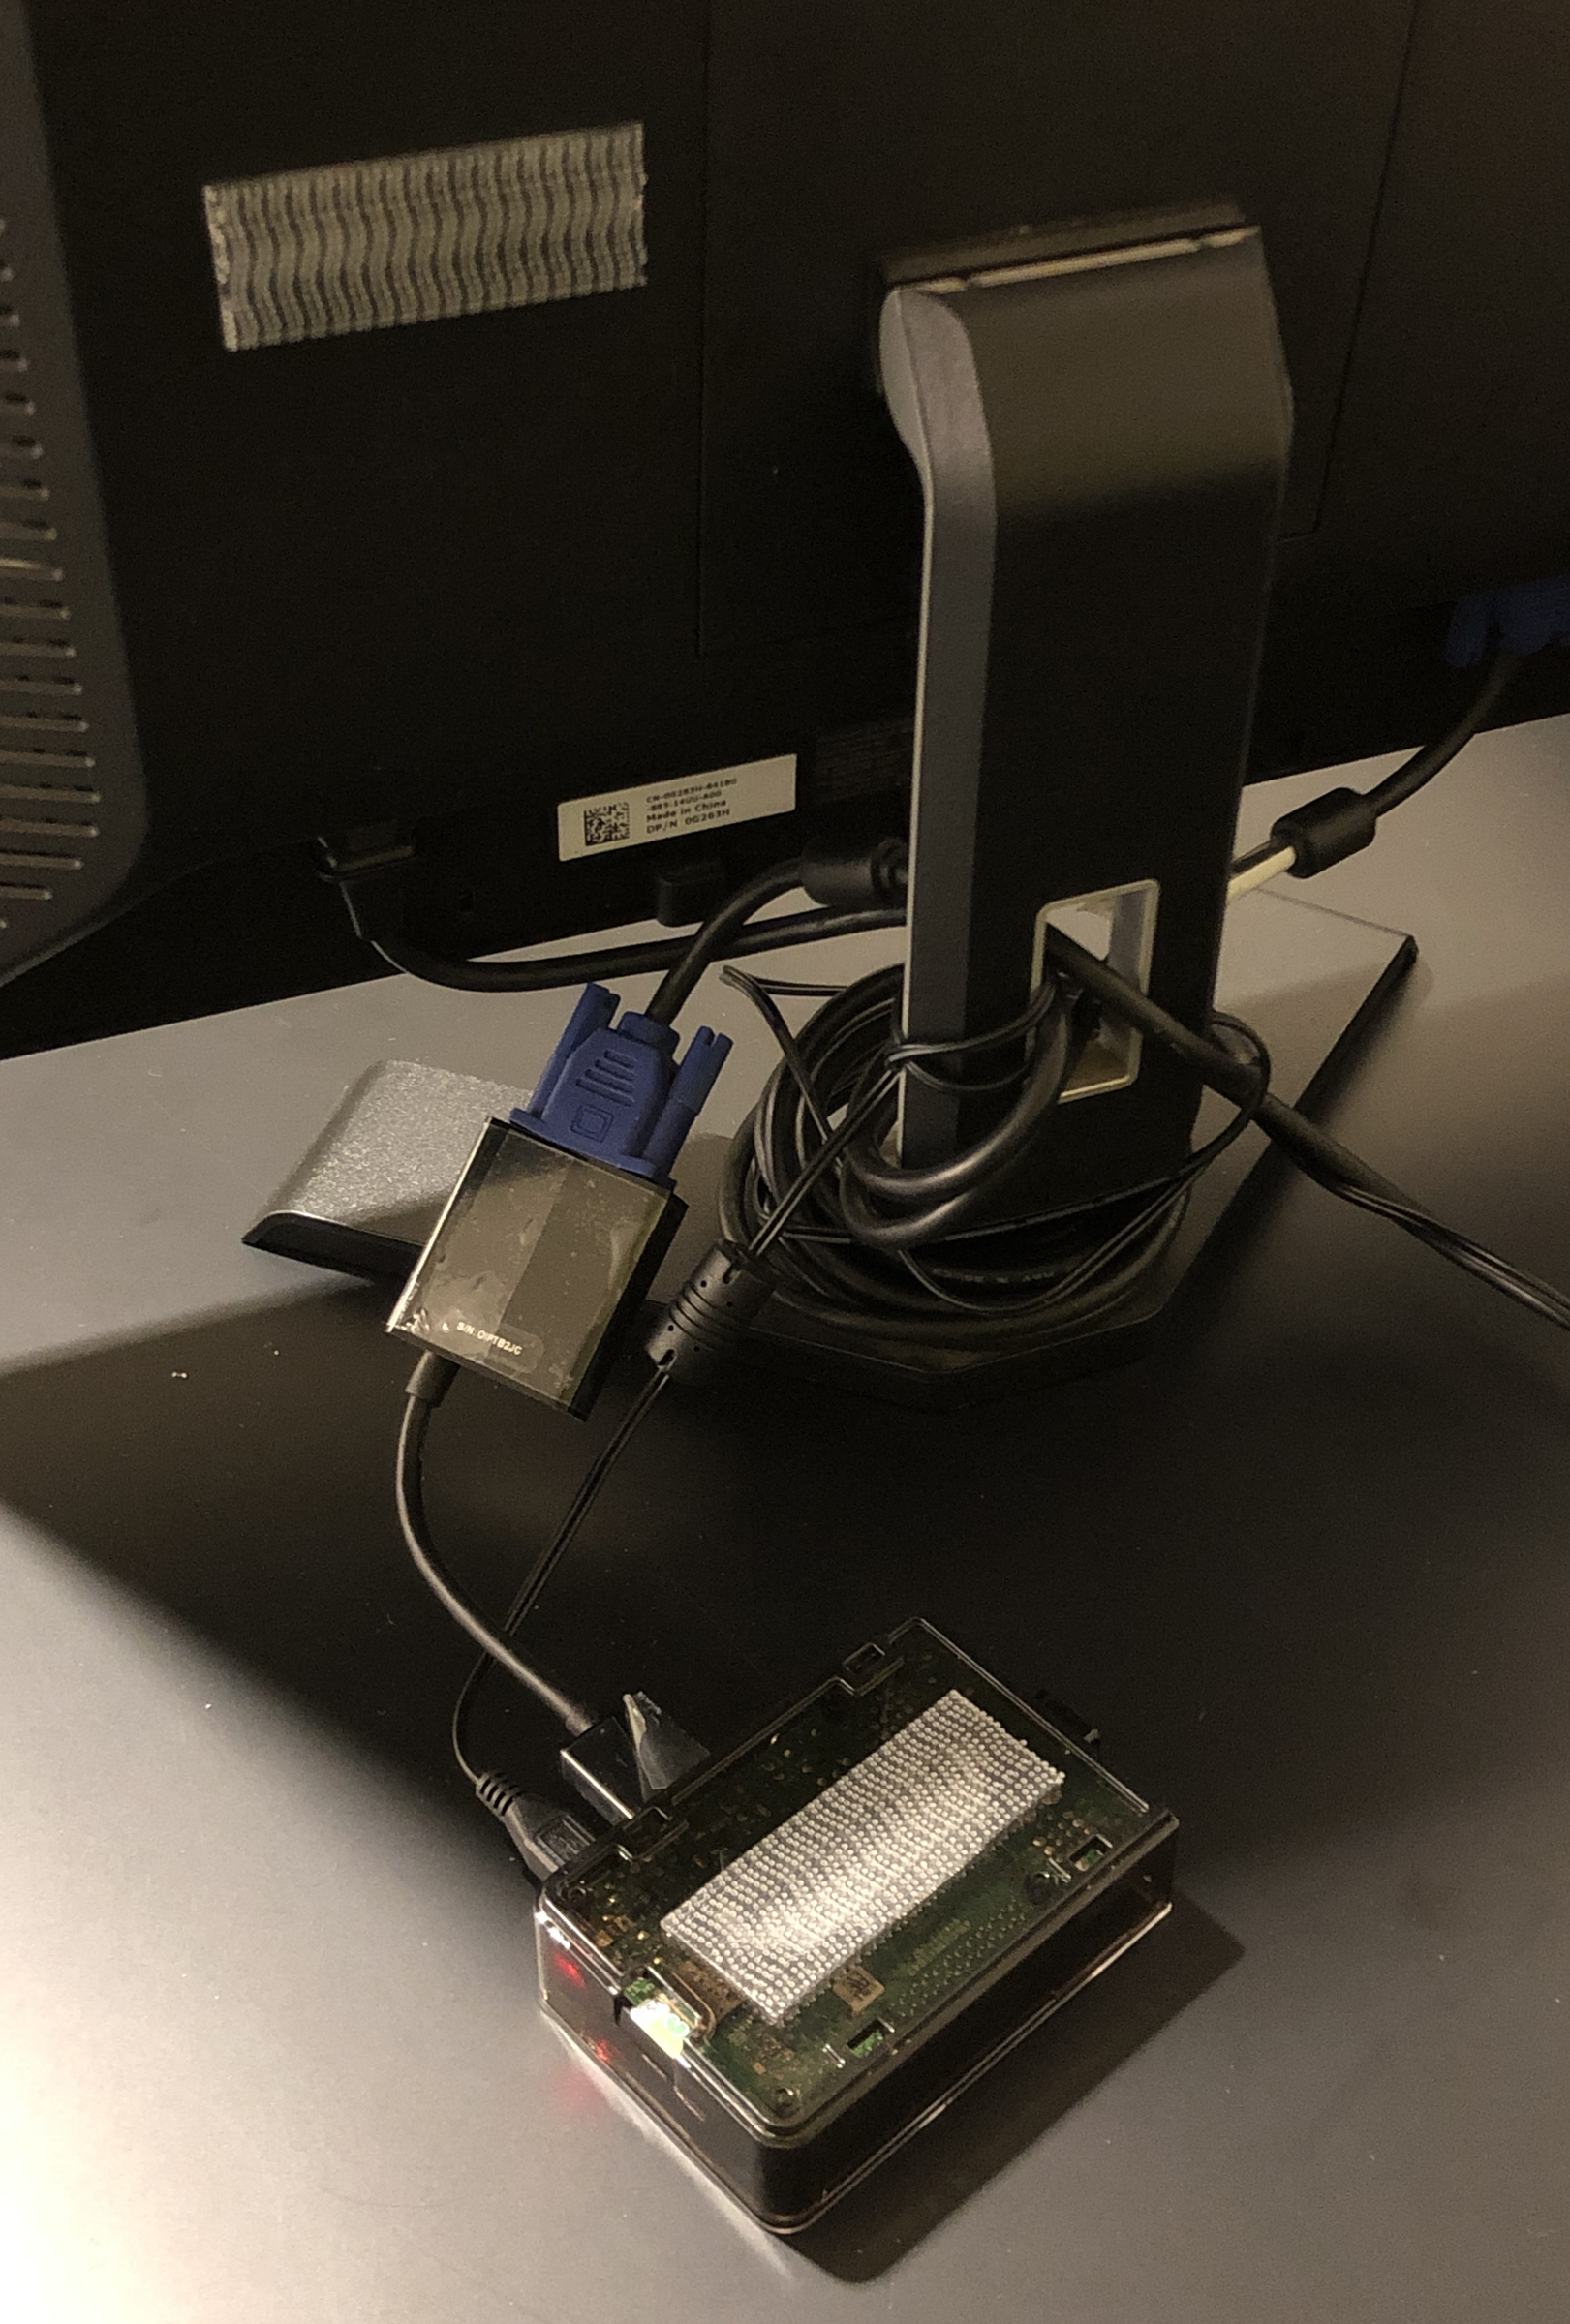
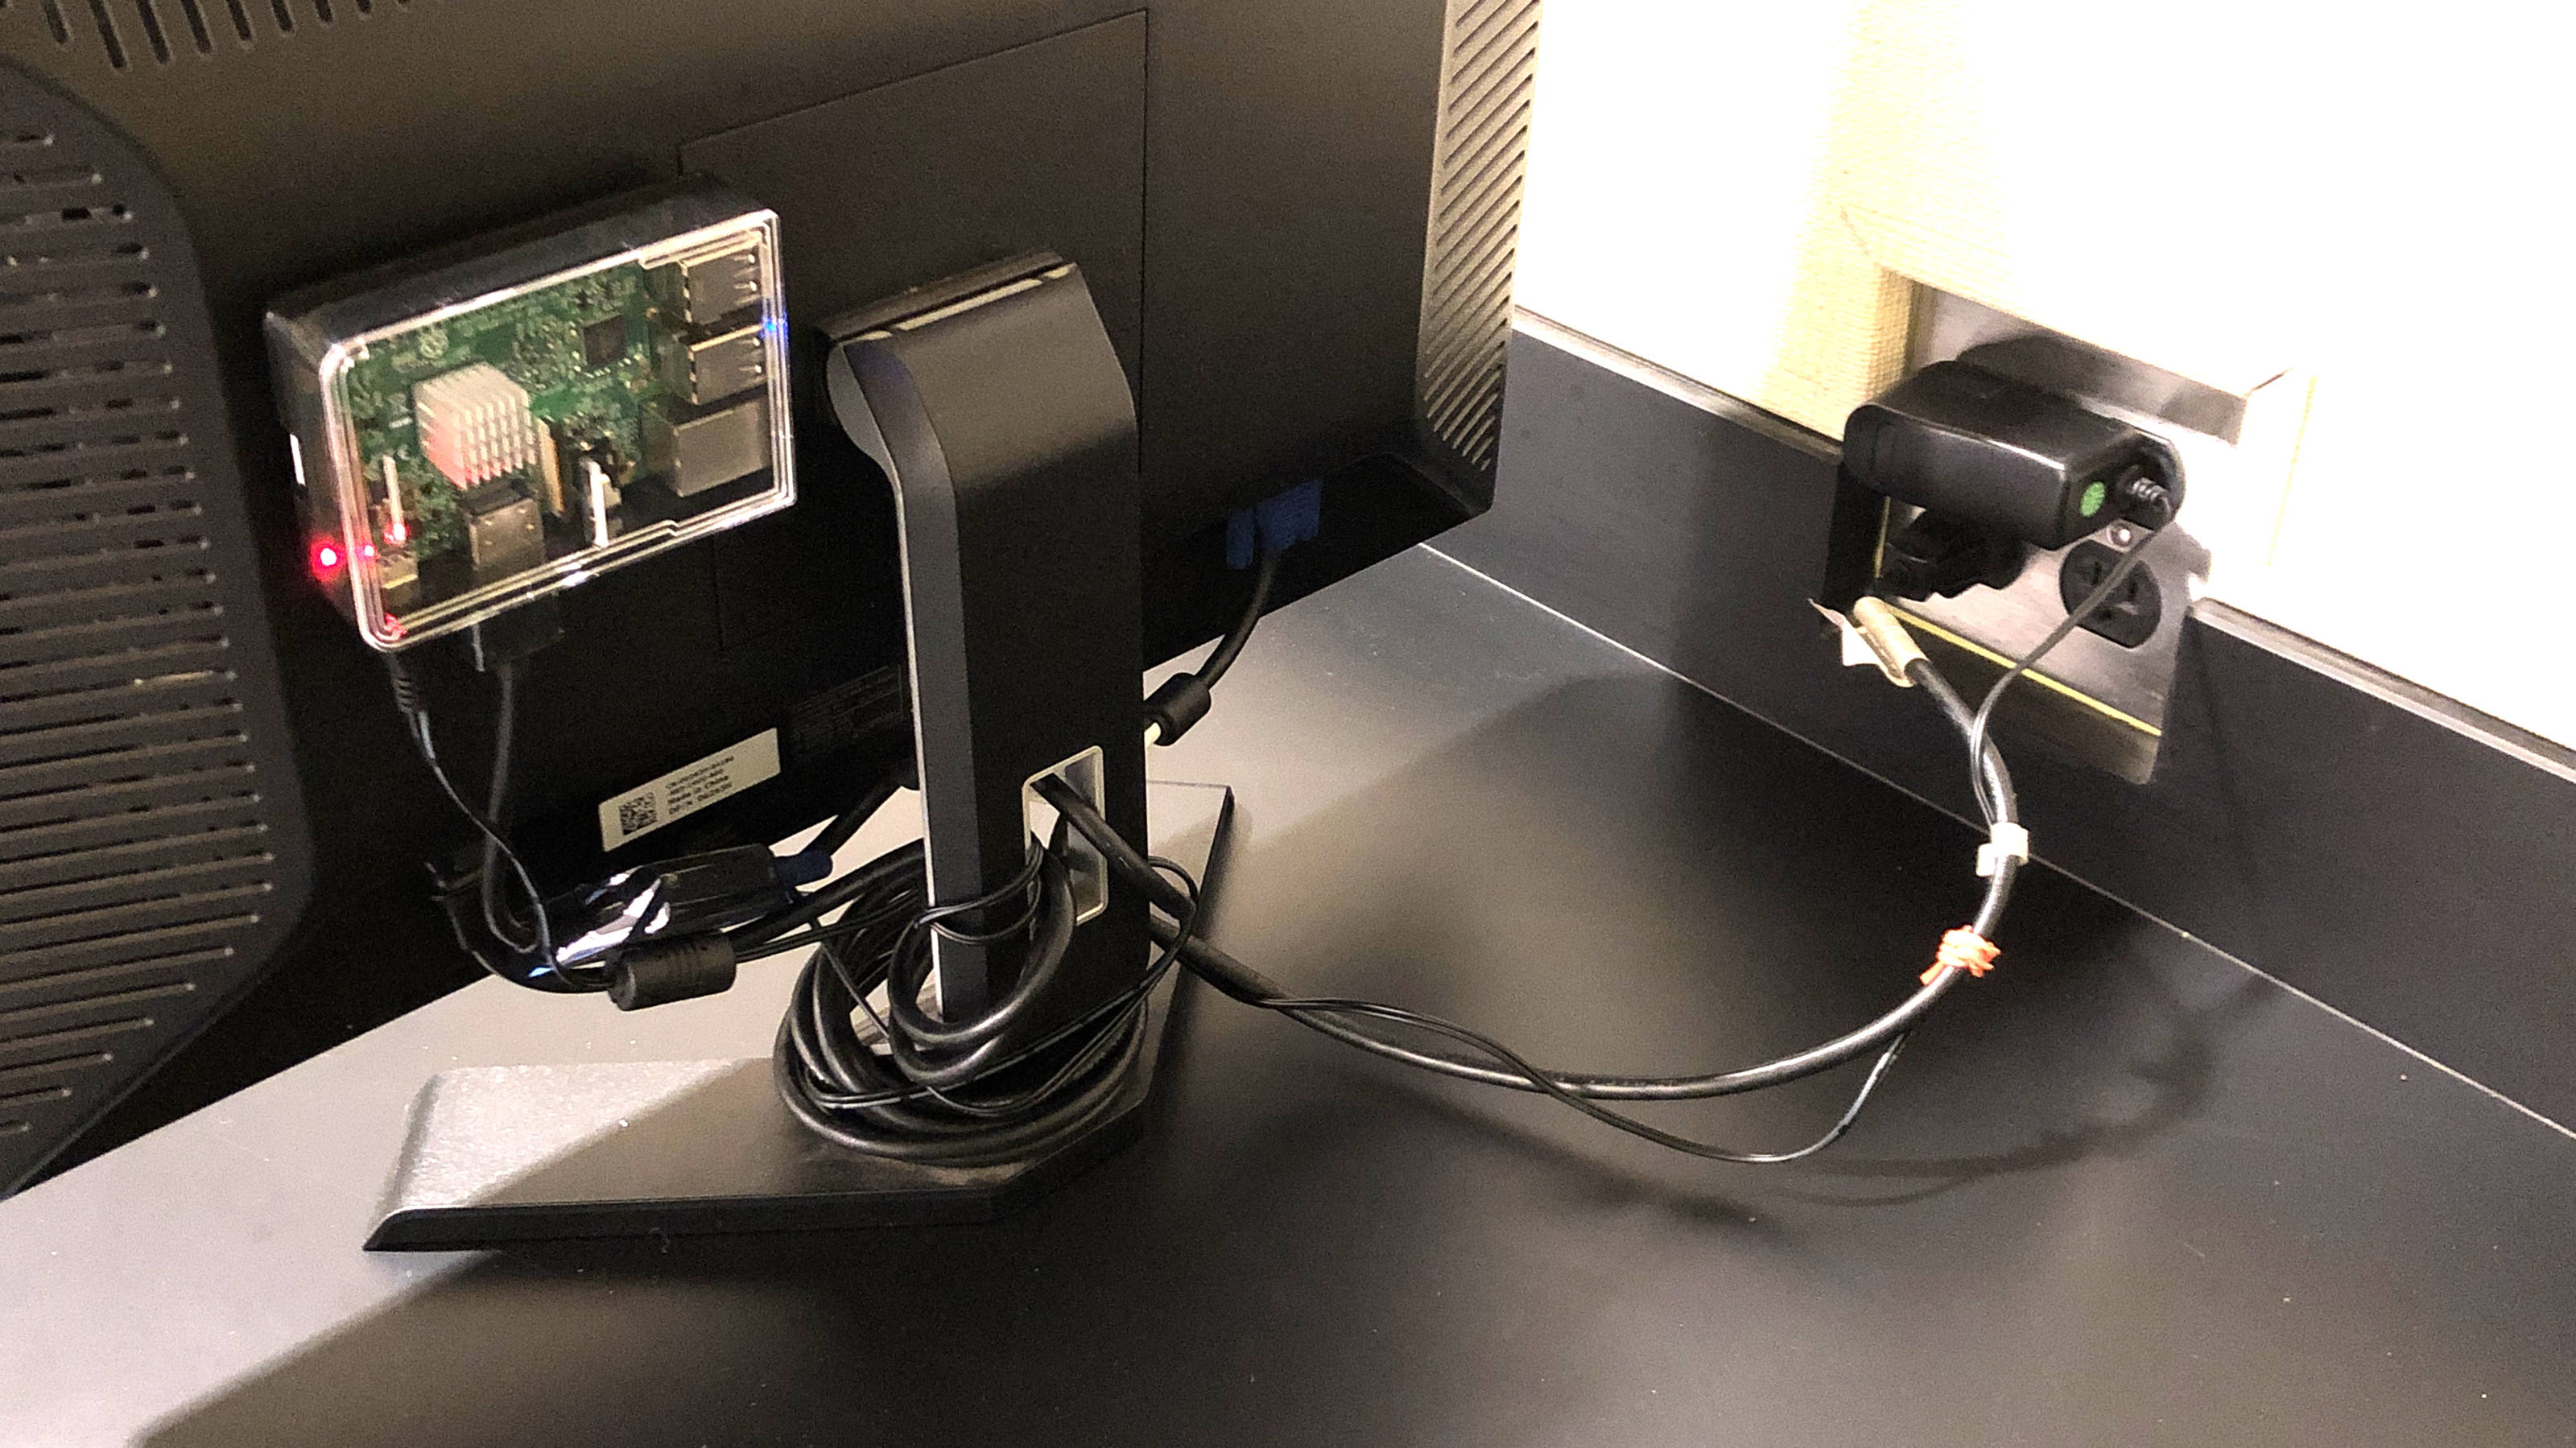
For context, after a long career teaching in public schools, I have taught at an independent school in southern California for the last 15 years. I have an incredibly supportive administration that has supported the growth of the school’s CS “program” (three classes) even when that sometimes results in class sizes that are quite small. Just as importantly, I work with an amazing IT director who has provided so much for our program, from hardware to servers to off-campus network access for students. Some key elements of our program wouldn’t be possible without support from higher-ups at my school, and without that, my teaching strategies, and even parts of the curriculum, would look very different.
Another important factor in all of this is the students’ access to technology. The Upper School in which I teach is a Bring Your Own Device (BYOD) school that requires students to have their own Apple or Windows laptop on campus with them every day. Having students work on their own machines, and then take them home where they can continue working, goes a long way toward facilitating the work we’re able to do. Without a BYOD program, I’d be working with a roomful of computers and having students either carry data back and forth on flash drives or interact with data directly on our server. We’d make it work, but it would change some of what we can do.
Some notes on infrastructure
As classroom teachers we know very well that the curriculum for a course is supported by all sort of infrastructure, what a textbook publisher would call ancillary materials.
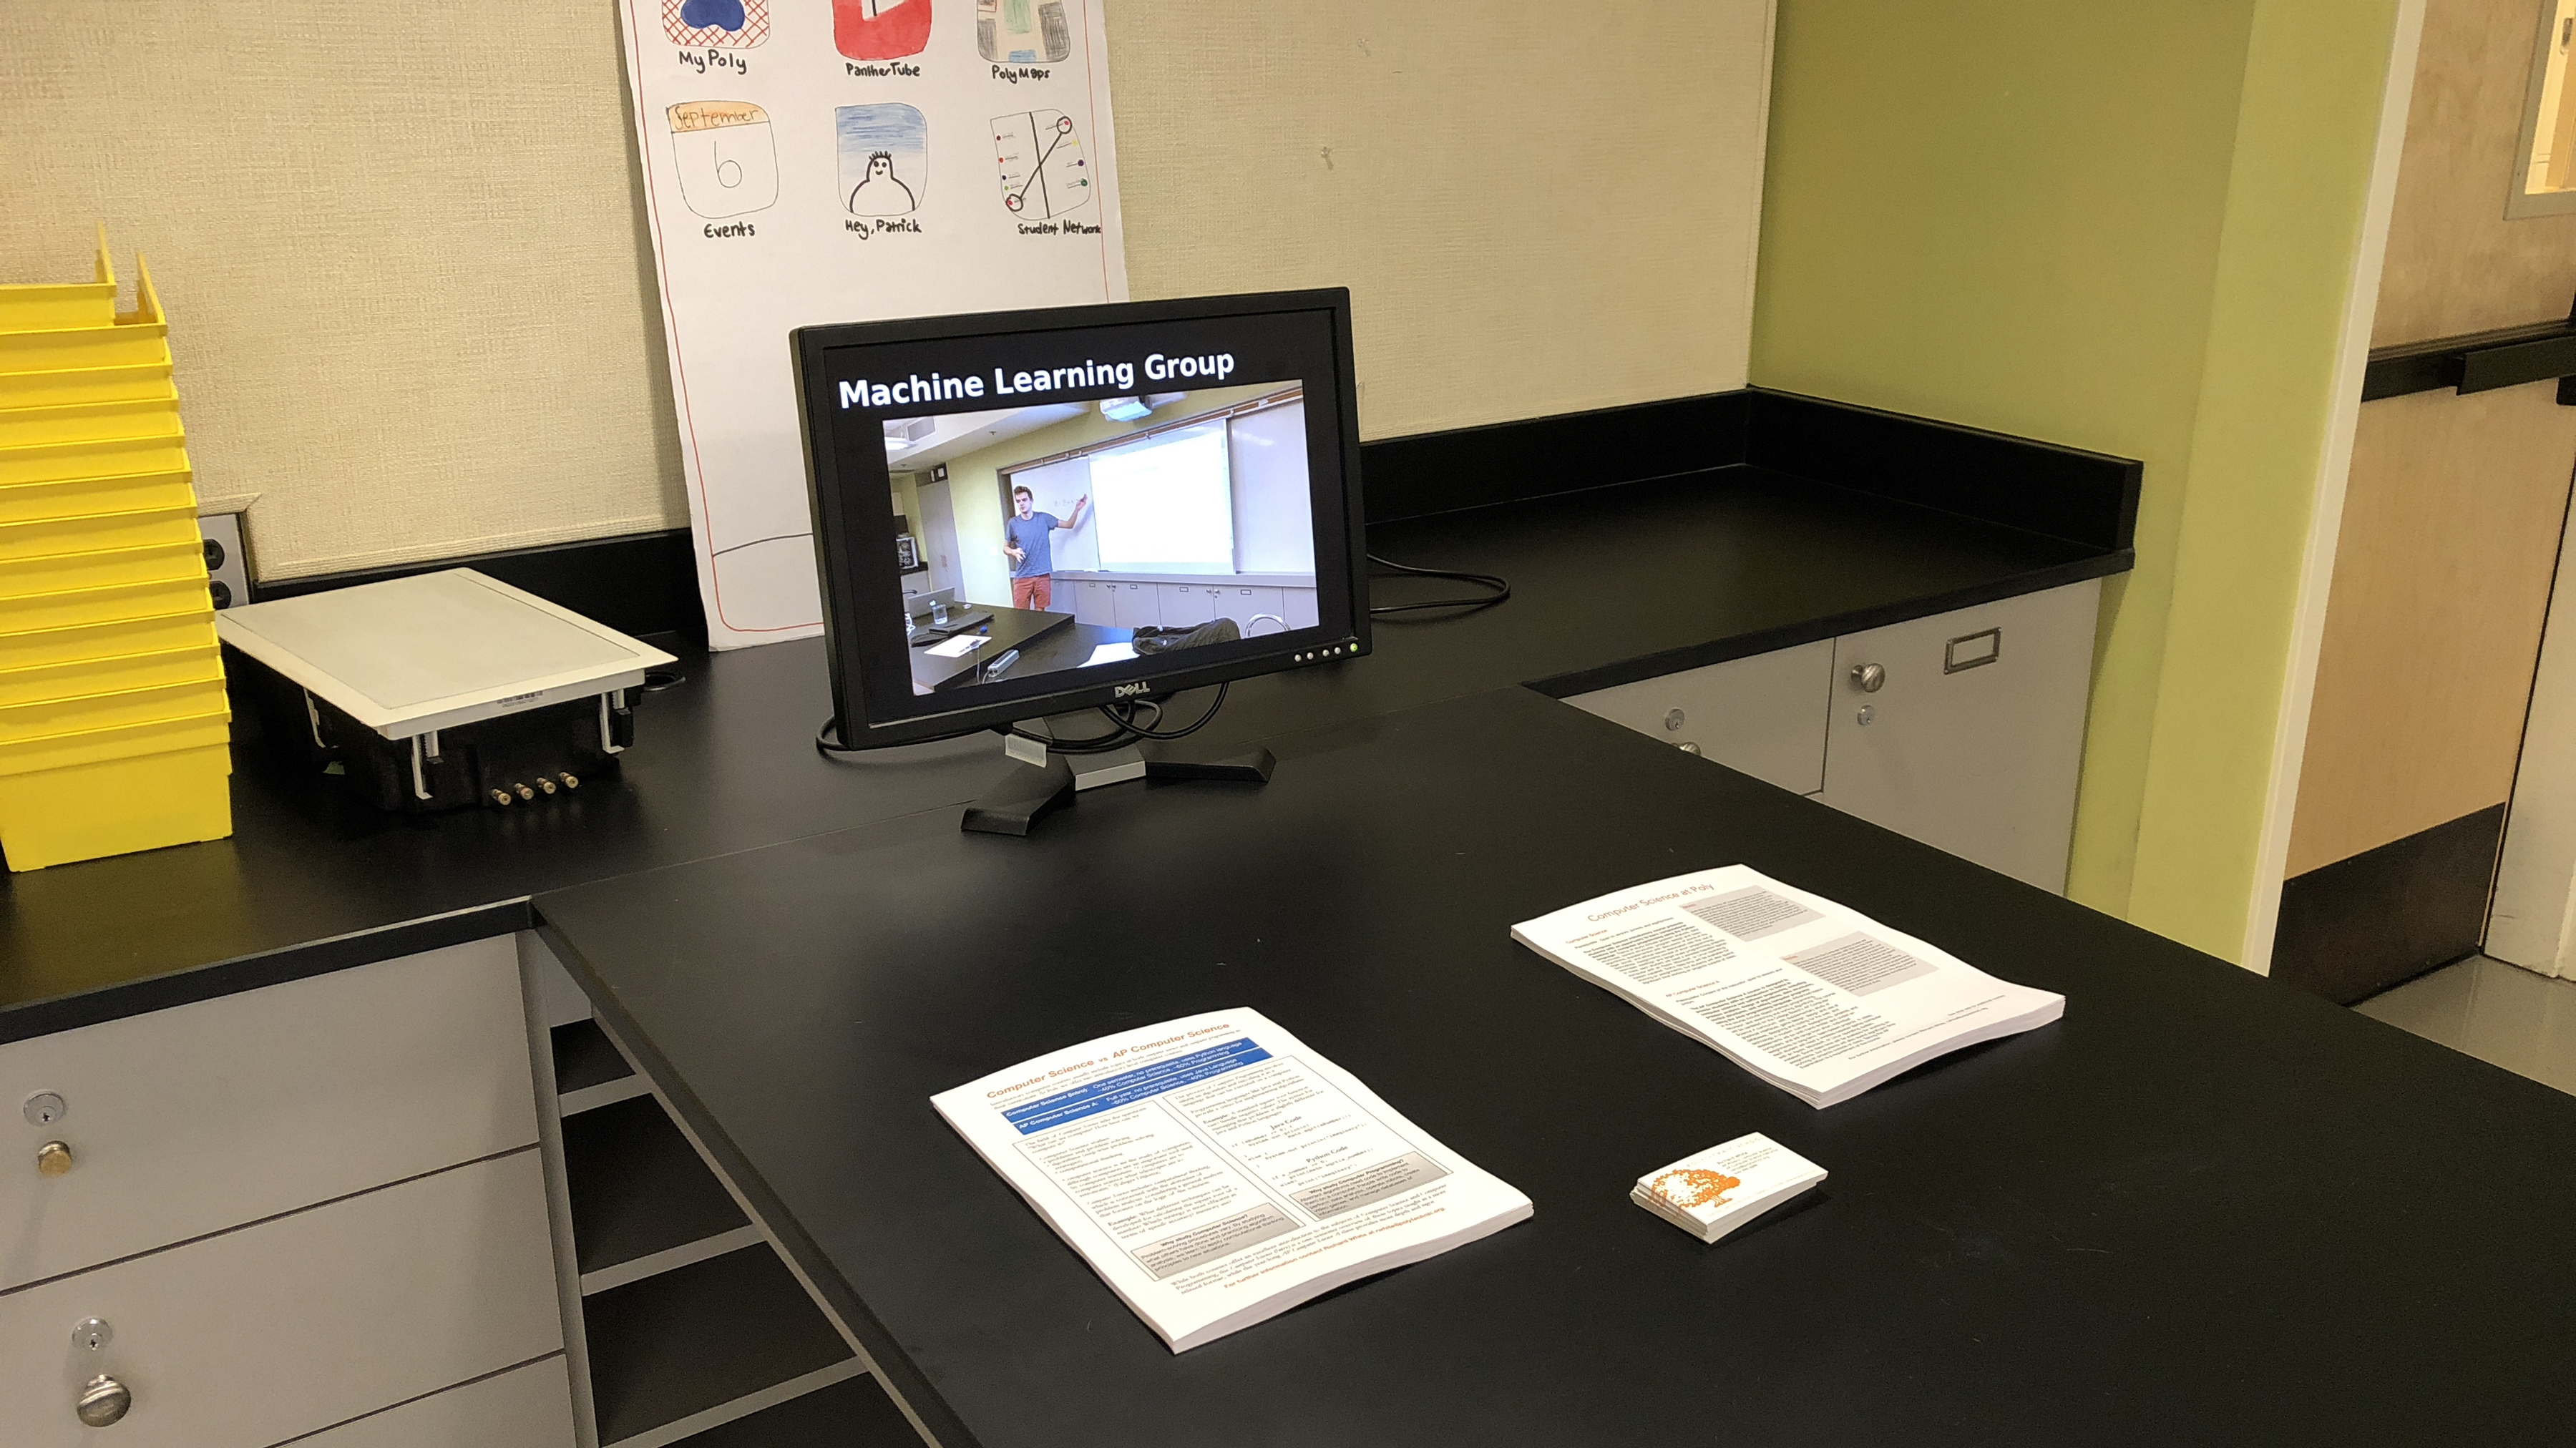
For my courses, I post the vast majority of the materials I present to materials on a website that is available to them throughout the course. New material is presented in class using an LCD projector displayed on a whiteboard at the front of the room, supplemented with comments and lots of drawing with whiteboard markers. Live-coding demonstrations of syntax and coding strategies, or public decoding of students’ programs, likewise happens using the LCD projector.
Speaking of textbooks, after struggles with availability of a seemingly endless series of editions of Horstmann’s excellent Java Concepts: Early Objects, I chose to move to a free, open-source textbook that seemed to satisfy most of the needs for that course… and subsequently shifted to free, open-source textbooks for the other classes as well.
- AP Computer Science A: Think Java: How to think like a computer scientist, Downey & Mayfield
- Into to Computer Science: How to Think Like a Computer Science, Miller & Ranum
- Advanced Topics in CS: Problem Solving with Algorithms and Data Structures Using Python, Miller, B. and Ranum. D.
I include appropriate sections for reading in the course calendar, but most students seem to rely more heavily on the online materials I’ve prepared for presentations anyway.
Intro to Computer Science, AP Computer Science A
These courses are both taught at the introductory level, and both cover approximately the same curriculum. The year-long AP course uses Java, and introduces objects near the beginning of the course and covers object-oriented design principles and algorithms in much greater depth than the Intro class, and students are formally tested along the way. The single-semester Intro to CS class uses Python and blitzes along quite quickly, with an occasional quiz to help keep students honest.
For both courses, programming problems are assigned on a daily basis, and students use the Terminal on their own computers to upload assignments to a server maintained by me. I can run auto-graders on their assignments and/or look at their code as desired.
An important preface to each course is an introductory unit that includes lessons on computational thinking, the filesystem on their computers (mostly Apple, some Windows, an occasional Linux), the and Terminal. As more students come into the course with little experience using local files (music and movies are streamed! Google Docs are in the cloud!), it’s critical for me to give them experience thinking about files and directories for them to be able to manage these courses.
Here then, are the topics covered in both courses, approximately in chronological order.
- Introduction
- Computer Science vs. Computer Programming
- Intro to Computational Thinking
- Encapsulation, Binary numbers
- The filesystem, using GUI to navigate the system, organizing files in directories
- The Terminal
- Navigating the local (client) computer
- Logging on to a server
- Navigating the server
- Text editors
- Integrated Development Environments (AP course)
- Computer Programming Principles
- Output
- Input
- Data Types
- Math operations
- Implementing classes (AP course only)
- Functions (Static methods for AP course)
- Conditionals
- Loops
- while
- for
- Graphics (using Processing.org)
- Object-oriented design principles (AP course only)
- String functions
- Lists (Arrays, ArrayLists)
- Algorithms
- Recursion
- Sorting
- Searching
- Objects (for Python course)
- Graphical programs (Graphics-based game)
Advanced Topics in Computer Science
This course picks up where either of the other two leaves off. After (re-)acquainting students with Python and object-oriented programming, it covers:
- Algorithm analysis; Big-O notation
- Recursion
- Linear Data Structures
- Stacks
- Queues
- Deques
- Linked lists
- Algorithms
- Sorting
- Searching
- Hashes (Map or Dictionary)
- Trees
- Binary Trees
- Heaps
- Binary Search Trees
- Graphs (introduced)
A note on providing a course website
I consider the website for each of my courses to be the logistical hub for what I do–it’s not uncommon for me to begin class by calling up the course calendar from the site and asking out loud, “So, what are we going to be doing today?”
I’m no genius in website design, and at least one of my students will attest to that: in a classroom presentation, he used one of my course websites as an example of “an okay site that could be so much better.”
Thanks for that, Ikenna. :)
And you may not be a rockstar at writing HTML/CSS/JavaScript code, but there are ways of making a website happen.
A course website will have a profound effect on how easily you can transition to distance-teaching.
If you don’t currently have a website that you use as a focal point for your teaching, you might not feel like now is the time to take that on. That makes sense. And yet…
We’ll talk about this more in the next post.