Tag Archives: hardware

Two Monitors

You need two monitors to run your distance-teaching platform.

I was going to say “you need an extra monitor,” but that would imply that it’s an option. You just really need two monitors, end of story.

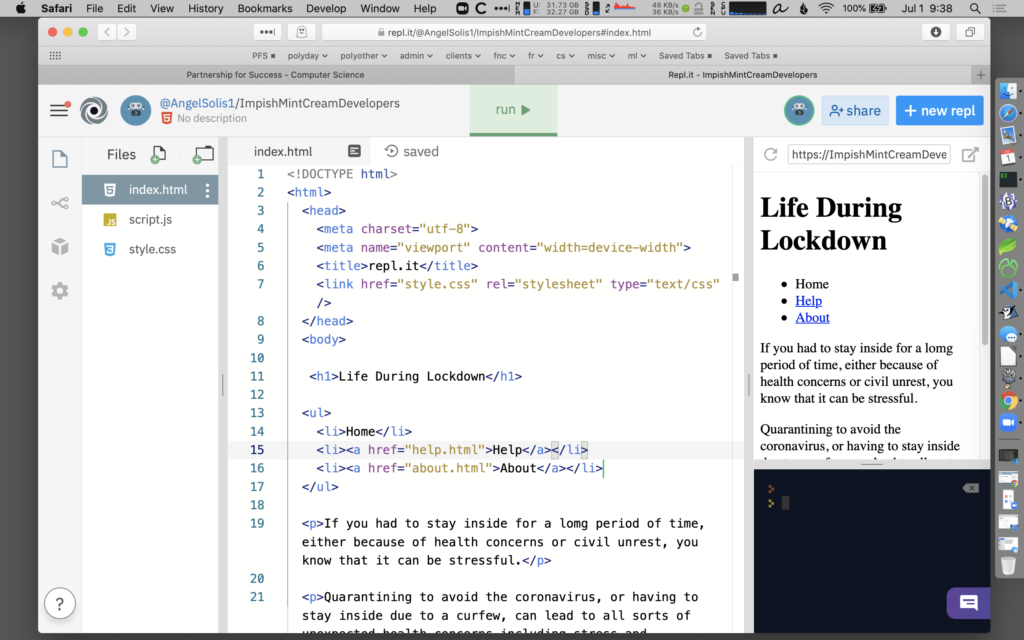
My primary monitor, which is being shared with my students via Zoom:

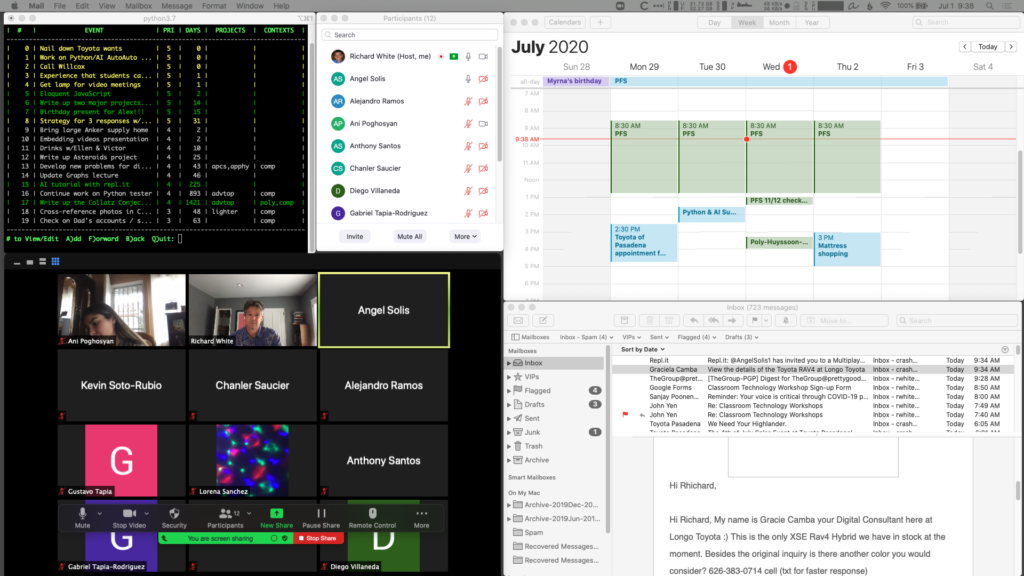
My secondary monitor, which has students’ faces, class list, to-do list, calendar, and email window:

Even with two monitors, you’ll find plenty of opportunity to keep multiple tabs open, multiple application windows, etc. Having two monitors won’t solve all of your problems.

But it will solve some of them!

We’re not animals. Get a second monitor.

Hardware for Distance-Teaching

This is perhaps the least sexy part of an extended conversation about distance teaching. Hardware is just stuff you can buy, so it doesn’t demand anything special from a teacher aside from money, either your school district’s or your own.

One of the great things about hardware is that you can almost always get by with less, as dictated by constraints. The barebones minimum that you need is simply that which you almost certainly already have: a laptop with wifi, webcam, and microphone.

Most of us benefit from having access to a bit more hardware. In order of subjective importance, then–most important first, niceties last–is my list of things that I’m currently using in my online teacher. (This list assumes that your base working computer is a laptop.)

  1. external backup drive
    There’s no way I’m going to do anything data related without a backup of my computer. A former colleague of mine, just yesterday, dumped coffee into her MacBook Air. Of course it was an accident; nobody does these things on purpose.
    Backups before all else.
  2. external monitor (and cable, dongle)
    One of the best things you can do to help manage your newfound digital teaching is to give yourself some extra screen-based real estate. It’s possible to simultaneously manage windows with your calendar, website, word-processor, email, and Zoom meeting all on your laptop’s screen, like an animal, but who would want to? If at all possible, finding a spot where you can set up an extra monitor will empower you to better juggle everything. A top priority.
  3. graphics tablet
    This isn’t something that would have been very high on my list before I started teaching from home, but it turns out to be pretty important now. From highlighting written documents during a Zoom session to actually writing out things, doing math, or drawing arrows to emphasize relationships, a small tablet has made a huge difference in what I can communicate on the computer.
  4. ear buds/headphones
    Most video-conferencing software–Skype, FaceTime,Meet, Zoom, etc–benefits from keeping the audio output from your speakers away from the audio input of your microphone. Most software does a remarkably good job of managing feedback loops so that you may not need ear buds or headphones, but it’s a nice thing to have access to, especially if you’re trying to be kind to a partner or worker within earshot of your teaching.
  5. mouse (blue-tooth)
    For most people, an external mouse makes everything better. Logitech makes some very nice ones.
  6. external keyboard and laptop stand
    The ergonomics of using a laptop are famously disastrous: if placed in your literal lap, the keyboard is in the right position but the screen is to low for proper posture, and if propped up at some height in line with your vision, you can reach the keyboard. Placed on a desk, both your neck and hands are forced into unhealthy positions.

    The best solution is to place the laptop at a height where you can easily see it–mine is currently propped up using books, and my partner’s is sitting atop a pile of shoeboxes–and use an external keyboard at an appropriate height lower down. A well-designed stand can dress up your workspace nicely.

    You didn’t get into teaching to spend hours each day at a computer, but this is where we are now. The least we can do is take care of ourselves.
  7. comfy chair and awesome desk
    These, too, can make your new life as a desk jockey much better and more healthy for you. Not all of us have the luxury of a dedicated work space, or that holy grail, a home office. Bu the more you’re able to carve out a literal or figurative “room of your own” in which to work, the better it will be.
  8. external microphone
    Your machine may have an adequate microphone, but an external microphone is almost always better. If you’re meeting with students or recording videos for them, improving your sound quality is a big bonus for them.

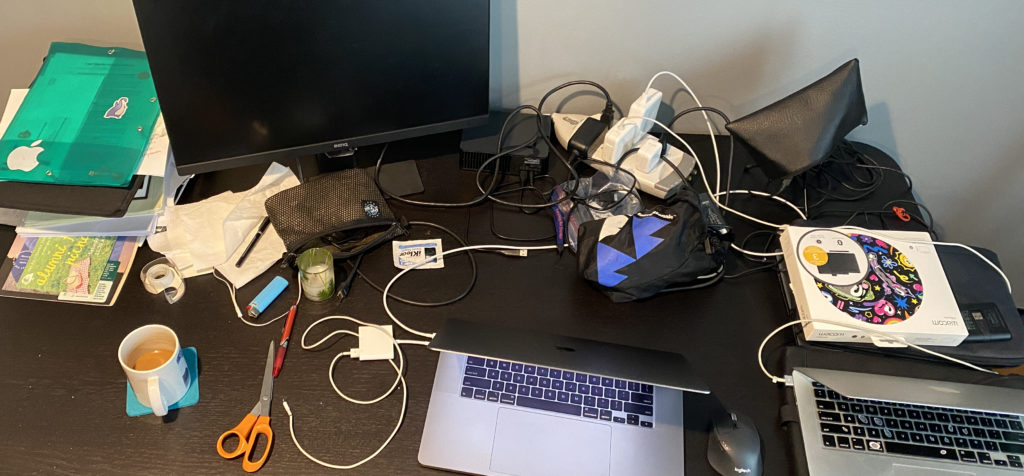
My partner needs less hardware than I do, so she’s got her “home office” piled onto a card-table in the living room. I’m fortunate to have a 5-foot wide desk from Ikea that I can spread everything out on. It’s a bit of a mess, but hey, we’re all suffering a little bit here. I’m consider myself lucky to be well-equipped, at least as far as my hardware situation is concerned.

Thank you, Apple, for the dongles.

Building Your Own PC, part 1 – Introduction

Building Your Own PC, part 1
Introduction

by Richard White

2011-06-30

After many years of hearing about how much fun it was, I finally jumped into the pool this April and built my own desktop PC. It was, in a word, AWESOME, and I heartily recommend that you do the same.

I have a rep as being something of an Apple fan, never mind the fact that I’ve also got Dell and Lenovo laptops dual booting Windows and Ubuntu. The unfortunate truth, however, is that Apple is so picky about making sure their hardware is built to specification, they don’t allow anyone to do it but themselves. I’m not complaining–the results of this policy speak for themselves. But if you’re going to build your own desktop, it’s going to be a PC running Windows or Linux.

And before we get too far into it, let’s be clear: we’re not talking about soldering integrated circuits or transistors onto a circuit board, and testing your electrical engineering skills with an test oscilloscope, or anything ridiculous like that. What we’re talking about is you taking some time to:

  1. Decide what you want to use your new computer for
  2. Settle on components that you’ll be using to assemble your new coputer (even if you’re not really sure what those components might be at the beginning)
  3. Poking around on the Internet looking for advice and good combinations of components that will make the machine you want
  4. Ordering those components online (most likely from newegg.com and amazon.com)
  5. Patiently waiting for those components to arrive
  6. Finding a few hours when you can settle in and try to assemble everything
  7. See that you’ve made a mistake in one or two items that you ordered, and send the ones you received back in to be replaced with what you really wanted
  8. Get new components, and assemble them into your dream machine
  9. Boot into the BIOS, and fix things that may not be working
  10. Install the operating system of your choice, as well as updates and drivers as necessary
  11. Install additional software as desired
  12. Admire your awesome machine!

As you can tell from some of the steps on the list up there, things don’t always work the way you’d thought they would the first time. While this is almost certainly going to be a source of frustration when it happens, you should also look at it as an opportunity to come to a better understanding of the hardware, and a chance to appreciate just how much work goes into getting these things to work the way they’re supposed to.

I’ll tell you how I began the process of building my own machine next post. In the meantime, you have three homework assignments.

First, start thinking about what kind of machine you’d like to build. Is it going to run Windows, Linux, or both? Is it going to be a lightning fast gaming machine, or medium-fast machine that you’ll use for surfing the internet and reading email, or a slower machine that you’ll use for backups, or serving media to other computers at your house? The uses you envision for your machine will determine the design and components you select.

Second, see if you can’t scrounge up a spare mouse, keyboard, and LCD monitor that you can use. You can use borrowed gear for these items at first, at least until you get your machine up and running. If you want to get fancier custom keyboard, mouse, or monitor, you can certainly buy them when you get the components for your computer, but they’re not strictly necessary. (In my case, I pulled an old keyboard and mouse out of the dumpster, and asked the tech people at my school if they were throwing away the old 15″ LCD monitors I saw sitting out in the rain.)

Third, do a little background reading on the Internet to help you figure out what you might want to include in the design of your new machine. Each article / website here comes highly recommended:

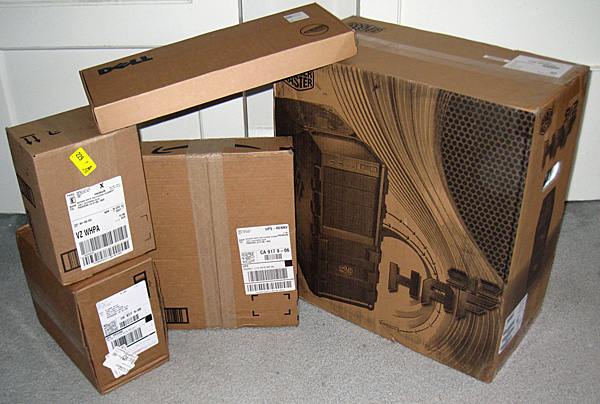
Next time? “What’s in all those boxes??!”